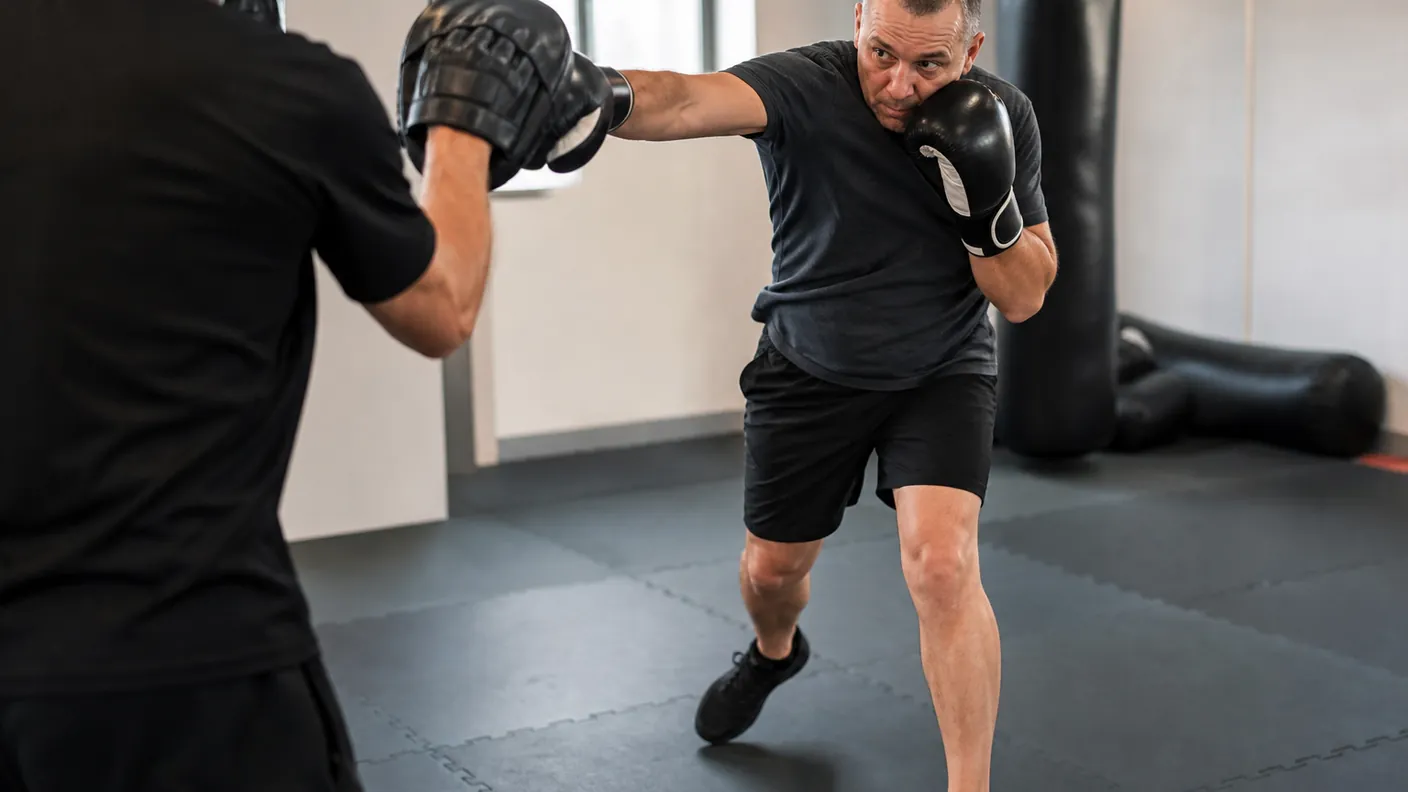
A hook often goes wrong before the glove moves.
The boxer is just outside a useful range, sees the target and tries to solve the distance with one large step. The lead foot reaches, the head follows it, and the hook has to travel farther and wider than it should. It may still make a good sound on a bag or mitt, but the stance is already gone by the time the punch lands.
A two-step hook drill gives the feet a quieter job. The first adjustment helps you find the range. The second restores enough shape that the hook can stay compact. It is not a dance move and it is not a way to charge into someone. It is a simple way to stop the lead hook becoming an arm swing.
Watch the short demonstration, then use the drill at a pace where you can still see what your feet are doing.
The hook needs a floor underneath it
A lead hook gets its force from a connected turn, not from throwing the arm around the target. The lead foot, lead hip, trunk and shoulder all have to contribute while the rear glove still protects the other side of the face.
That is why range comes first. If you are too far away, the elbow straightens and the glove reaches. If you are too close, the arm jams and the body cannot turn cleanly. In both cases, people usually try to fix the problem by using more effort. A better answer is to put the feet in a more useful place before the hook leaves.
A review of boxing punch mechanics describes punching as a linked action involving the lower body, trunk and upper body. You do not need to turn that into a science lesson in class. The practical test is enough: after the hook, can you still bring the hand home, cover a return and take another step without untangling your feet?
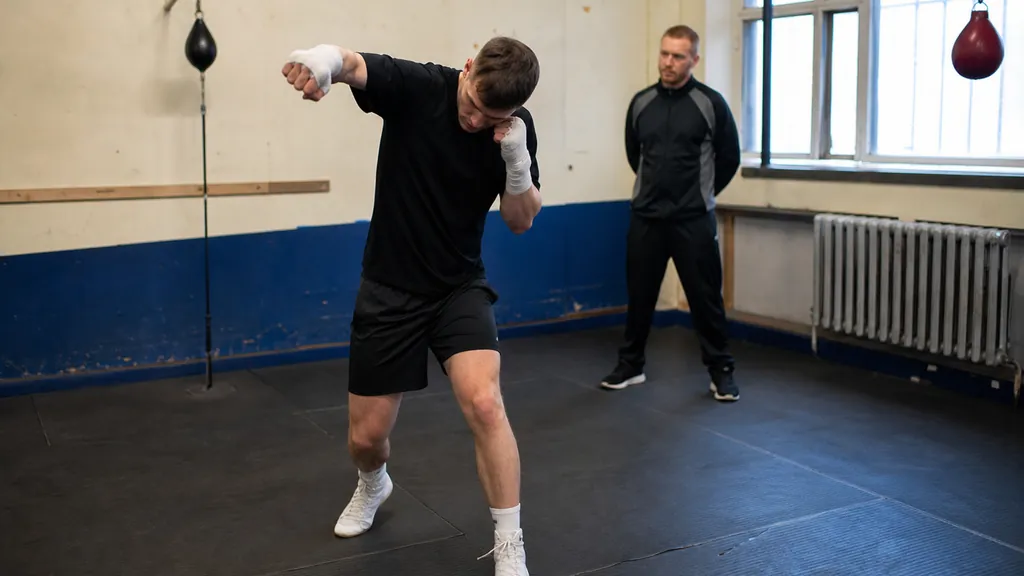
Two small steps are better than one desperate reach
The first movement is simply a small adjustment towards the range where a hook belongs. Keep the stance staggered. Keep the knees soft. Keep the head between the feet rather than sending it ahead to find the mitt.
The second movement is the important one. It brings the stance back underneath you before the hook has to do any serious work. That does not mean stopping for a long pause. It means letting the rear foot recover the gap between the feet while the body stays organised.
For an orthodox boxer, the lead side remains in front while you make the adjustment. Southpaws reverse the picture. The rule stays the same: move only enough to make the punch honest, then let the other foot restore the base.
This is close to the rule in boxing one-two footwork. A forward step can help the first punch arrive, but the next shot needs a settled base. The hook is no different. If the feet are still travelling wildly, the hip turn becomes a scramble.
Do not confuse a two-step adjustment with marching forward. If you need to cover a large gap, take ground with a jab, a feint or a calm reset before you think about hooking. The hook works best when it is delivered from a range you have already earned.
Keep the hook compact when the feet arrive
Once the feet are in place, throw the lead hook with a bent elbow and a short route to the target. The shoulder and hip turn together. The rear glove stays near the cheek. The chin stays behind the lead shoulder rather than following the glove.
The hook does not need a huge wind-up. In fact, loading it too obviously often creates the same problem as the long step. The other boxer sees the shoulder pull back, sets their feet and gives you a harder target. A compact hook is easier to repeat and easier to bring back to guard.
Our guide to throwing a hook in boxing covers the basic punch itself. This drill has a narrower job: make sure the feet have placed you at the right distance before you ask the hook to turn.
A study of novice boxing training followed progressions from static punching into punching with displacement. That order is useful in the gym. Learn to throw the hook with stable feet. Add one small adjustment. Only then join the actions together at a faster pace.
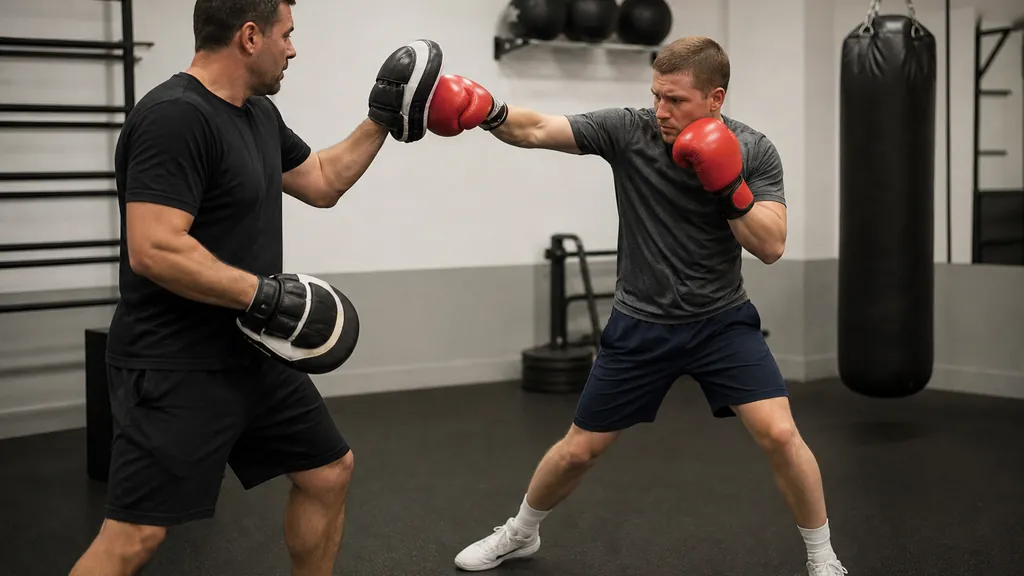
The three-round two-step hook drill
Start with shadow boxing or a coach-held mitt. A heavy bag is useful later, but it will not tell you whether the lead hook is entering a safe range or whether the rear hand has disappeared.
Round one: steps only
Take two small adjustments towards an imaginary target, then freeze. Do not throw the hook yet.
Check the stance before every reset. Your feet should still be staggered, neither foot should have crossed the other, and you should feel able to step in either direction. If the front knee has drifted far ahead of the toes or your chest has fallen forwards, make both steps smaller.
Round two: step, settle, hook
Use the same two adjustments, then throw one light lead hook to a mitt or into the air. Hold the final position for a beat.
The coach should check the rear glove, chin and feet before worrying about power. If the elbow has straightened or the hook has become a slap, you are probably starting too far away. Begin closer or remove one step until the punch is short again.
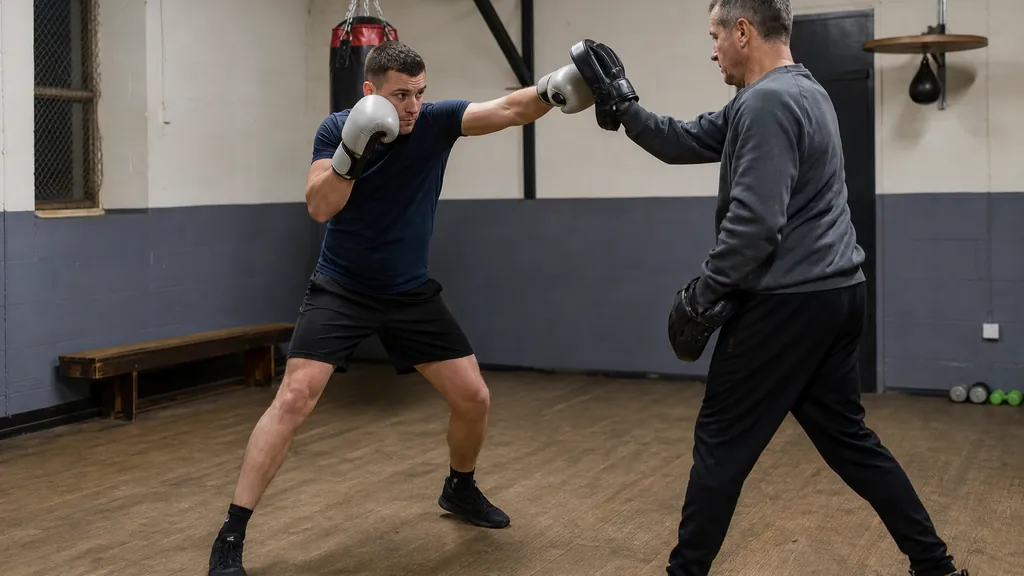
Round three: hook and choose an exit
Now add one calm decision after the hook. You might bring both gloves home and reset, take a small step out behind the lead shoulder, or show a straight lead hand if the coach presents a target.
Keep only one finish for the round. The aim is not a long combination. The aim is teaching the body that a hook is not an ending pose. You still need to be able to see, defend and move after it.
This connects with what to do after you punch in boxing. The punch has not succeeded merely because it landed. It has succeeded when it leaves you somewhere useful.
Four mistakes that spoil the drill
The first is taking one large step instead of two small ones. A big entry usually sends the head beyond the base and makes the hook long. Reduce the distance and rebuild the stance.
The second is crossing the feet. A cross-over step may feel quick, but it leaves you unable to stop or turn if the target moves. Keep each step short enough that the other foot can follow naturally.
The third is loading the hook while the feet move. If the glove pulls back before the stance has settled, the punch becomes obvious and the rear hand often falls away. Let the feet do their work first, then turn into the hook.
The fourth is making the hook a compulsory follow-up. Sometimes the target has moved, covered or become too close. In those moments, cover, jab or reset. A technical drill should improve judgement, not make you throw the same shot regardless of what is in front of you.
Where the drill belongs in training
Use this after a warm-up, before hard bag rounds or controlled partner work. It is a useful bridge from a stationary hook to a hook you can throw after moving, but it does not need hard sparring.
Start with a coach and a clear target. The target should be close enough that the hook stays compact. The pace should be low enough that you can stop the drill as soon as the feet narrow, the head reaches or the rear hand drops. Ten clean repetitions are more useful than thirty that only look busy.
If you train near Kidbrooke, our Recreational Adults boxing classes use pad rounds, bag work and controlled partner drills to build that order: find the range, place the feet, then make the punch count.
The coaching cue is simple: take the space in small pieces, then hook from a stance you can trust.
H&G Team
Writer at Honour & Glory Boxing Club, a community boxing gym in Kidbrooke, South East London.
KEEP READING
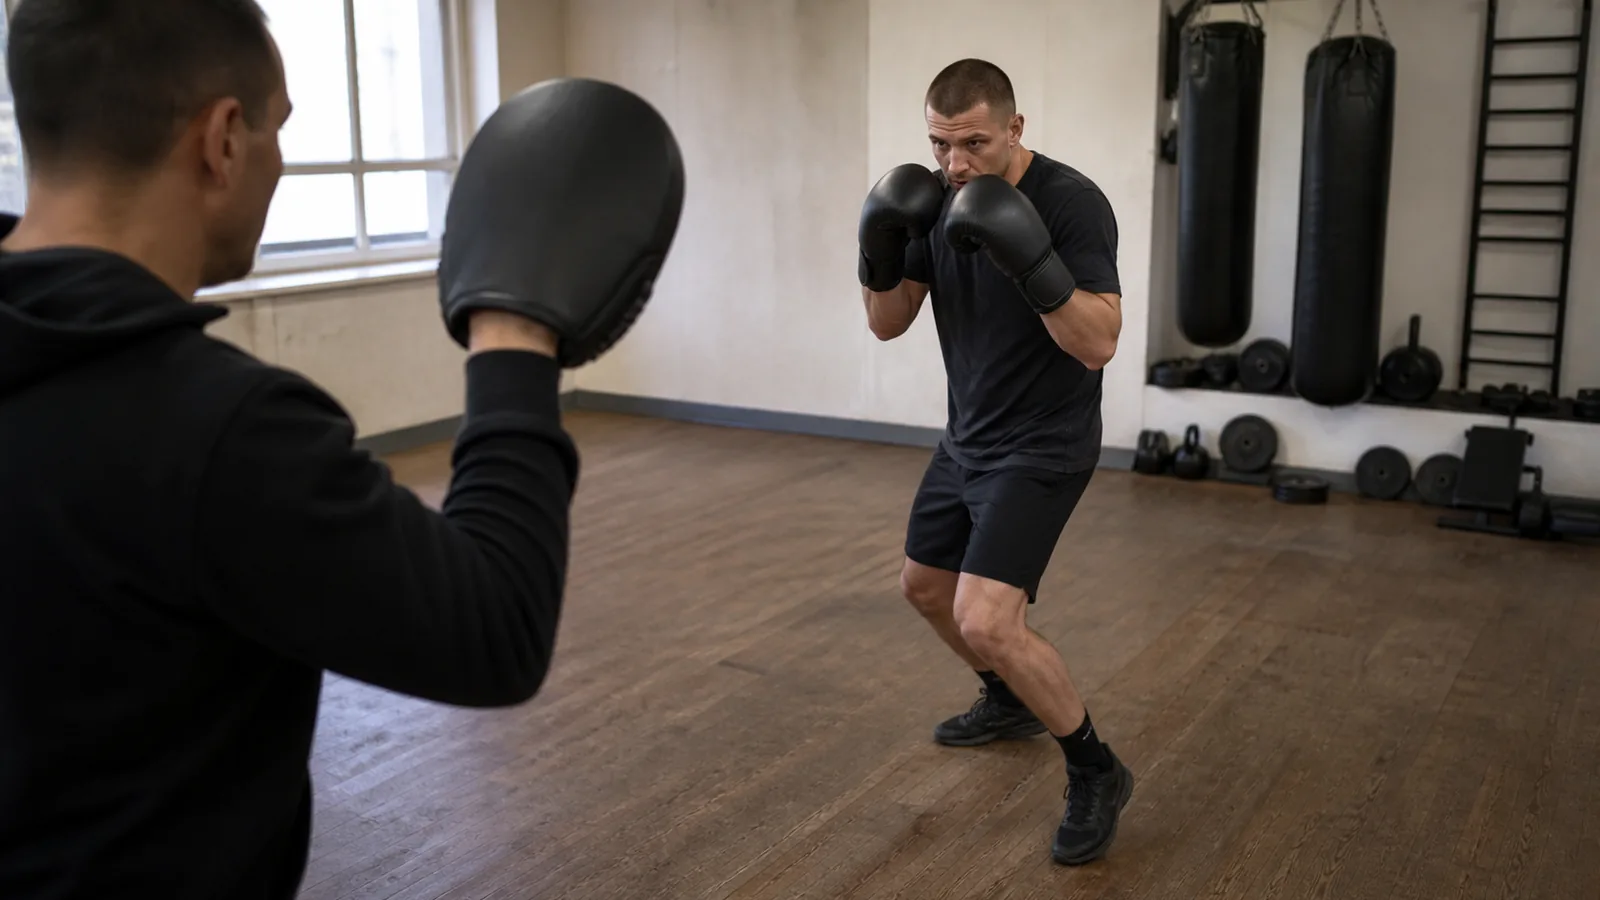
Check Hook Balance Drill: Do Not Fall Backwards
Use a short check hook only when the step back, guard and lead-side turn leave you balanced enough to exit or reset.
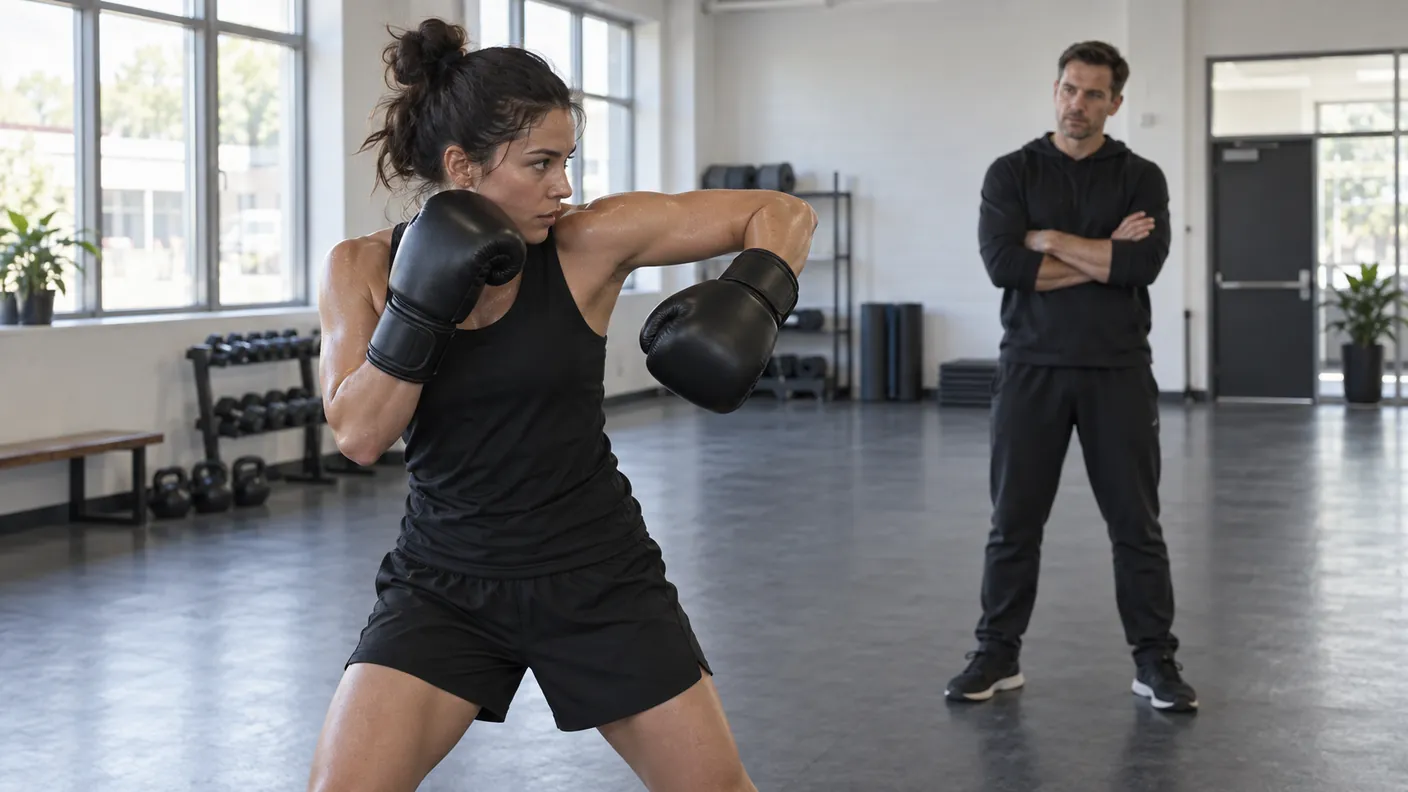
Boxing Hook Hand Position: Palm In or Palm Down?
Choose palm-in or palm-down hook position by range, balance and clean contact, rather than copying one shape for every punch.
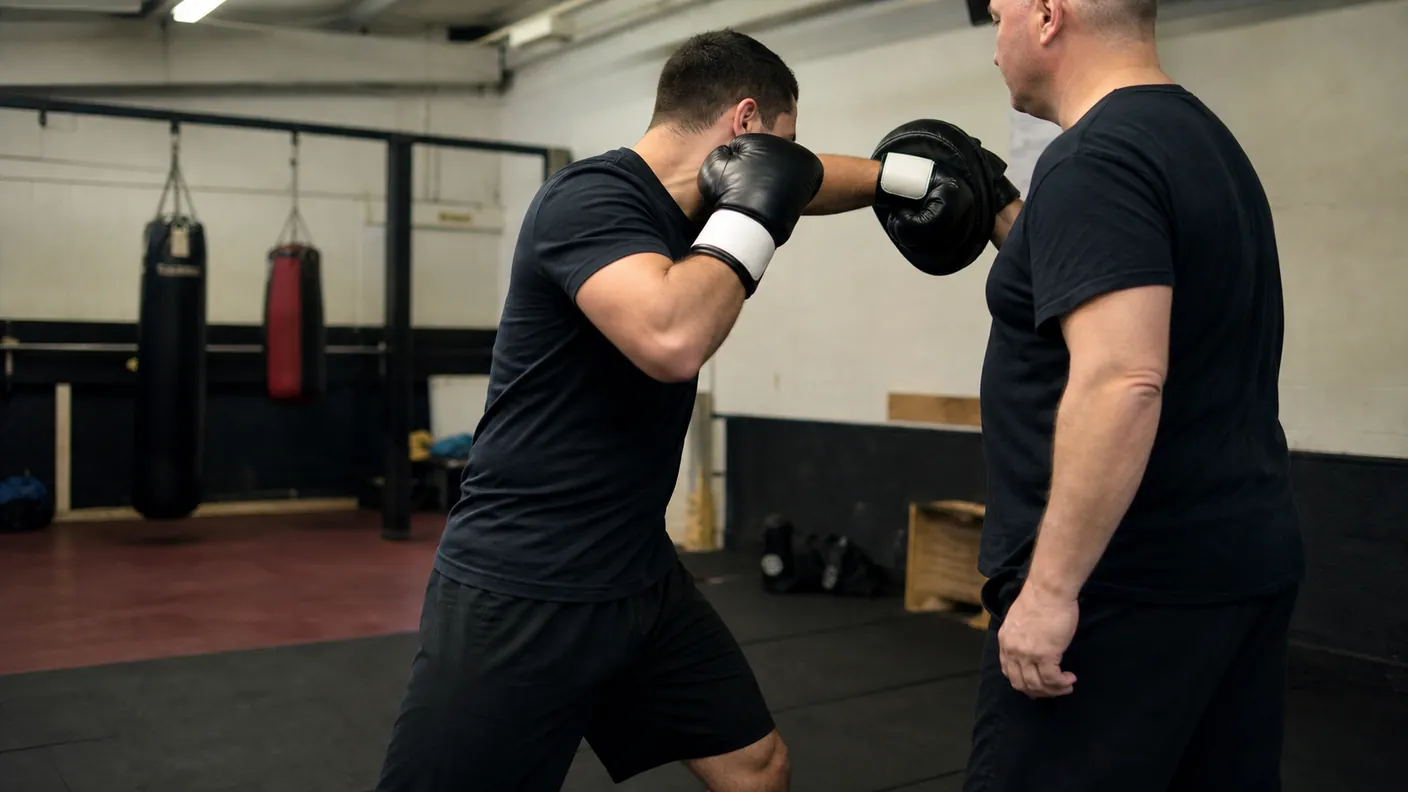
The Hook-Jab: Use Your Lead Hand Twice
Learn how a compact hook-jab can change the line of attack, bring your lead hand home and help you leave the pocket in balance.
Was this page helpful?
It takes one tap, and it genuinely helps.
Choose your next step
Turn this article into the right action
Some readers are ready to book. Some need the class route first. Pick the route that matches what you actually want.