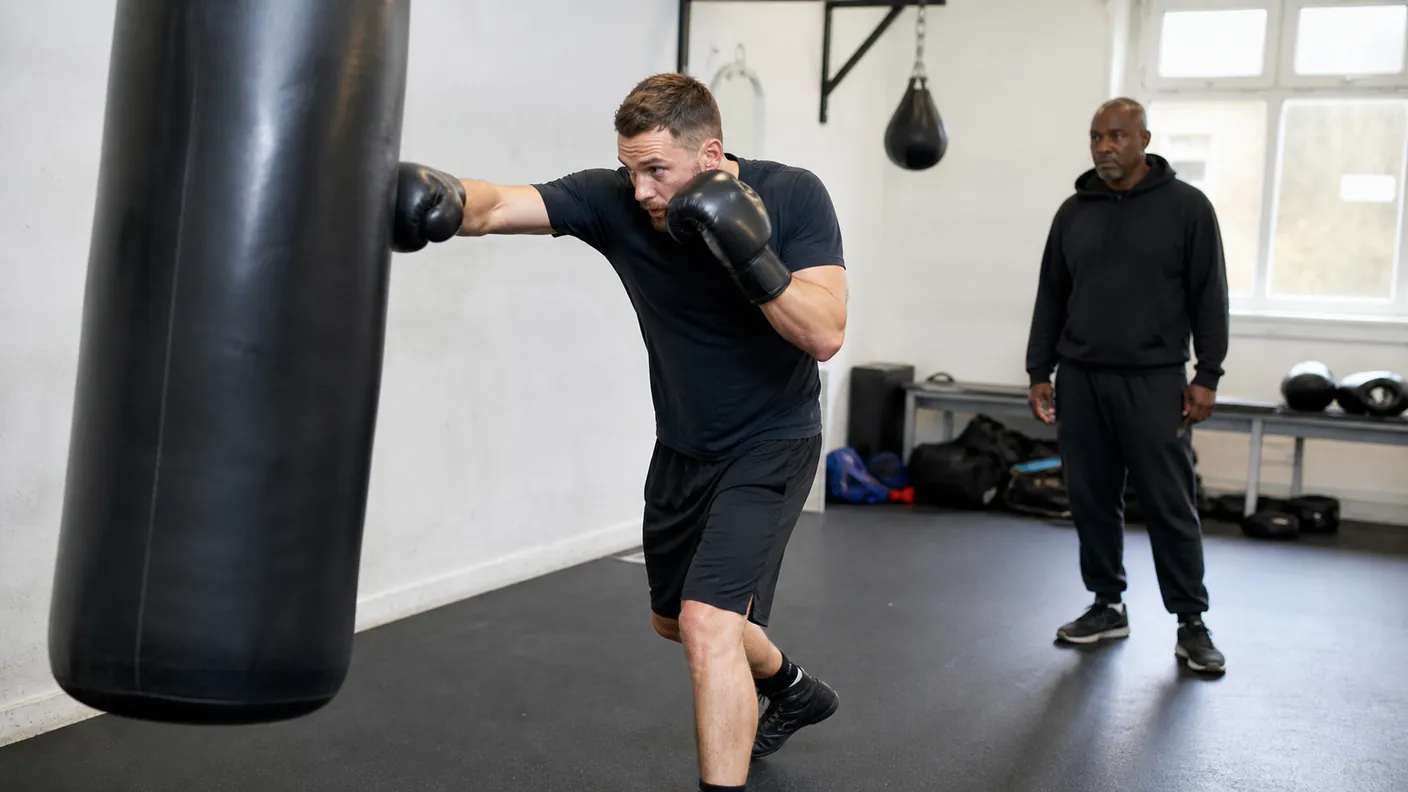
The rear uppercut needs a lane. When someone is too far away, it becomes a scoop from the floor. When they are pressed right into your chest, there may be no room to lift the glove cleanly at all.
A small angle step can solve the middle problem. After a compact lead hook, move just enough to stop the exchange becoming square and crowded, then place the rear uppercut only if the new distance has made a short lane available.
This is not a fixed three-punch answer for sparring. It is a controlled pads-and-bag drill that teaches a more useful habit: do not demand another punch from a position that has already gone stale.
Watch the demonstration below, then slow the pattern down until the feet and hands still agree.
The step makes room, not distance for its own sake
A lead hook can leave you close to the other boxer. That is not automatically a problem. It becomes one when the hips are locked, the feet are narrow and the rear hand has no honest route to the target.
The answer is not to jump backwards and throw an uppercut from the far end of the gym. It is a small diagonal adjustment. For an orthodox boxer, the lead side has just turned through the hook. A slight move off that line can give the rear hip room to turn and let the rear glove travel up a short path. Southpaws reverse the picture, but the rule stays the same.
England Boxing's coaching handbook puts stance, balance and controlled skill progressions at the centre of good practice. That is the right test here. If the step leaves you unable to cover, punch or move again, it has not created an angle. It has only taken you out of position.
Begin with one compact lead hook
Do not bolt the step and uppercut onto a loose hook. First make sure the lead hook can arrive and return without taking the whole body with it.
Start at a range where the lead elbow can stay bent. Turn the lead hip through a focus mitt or the side of a heavy bag. The rear glove stays close to the cheek. When the hook lands, bring it back towards guard rather than leaving it outside your shoulder.
That return is what gives the feet time to work. If the first glove is hanging in front of you, the body will often follow it. The rear hand then has to rescue your balance instead of becoming the next useful punch.
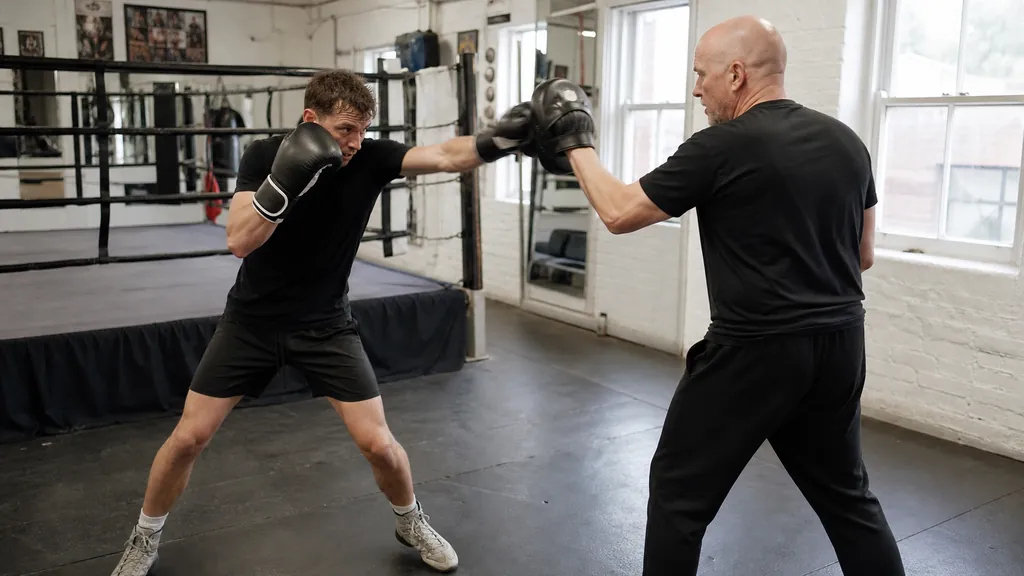
A review of boxing performance and biomechanics describes punches as connected actions through the legs, trunk and upper body. You can feel that connection in this drill. The hook does not finish at the glove. It leaves a position which either allows the step or tells you to reset.
Take a small diagonal step after the hook
Once the hook stays tidy, add the foot movement without an uppercut. Hook, bring the glove home, step just off the original line, then freeze for one second.
The direction will depend on stance, target and what is in front of you. Do not turn this into a choreographed dance step. The practical aim is modest: create a fraction more space beside the other boxer while keeping your feet staggered and your head between them.
A useful test is whether you can jab from the finished position without taking an extra shuffle. If you cannot, the step was too large, crossed your feet, or came before the hook had finished returning.
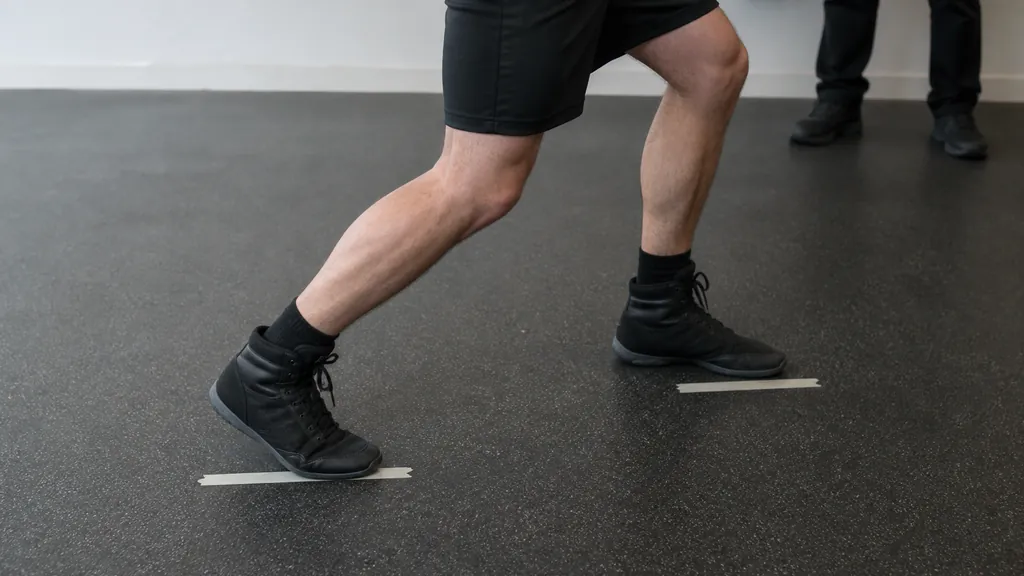
This movement has more in common with a positioning choice than an escape. Our guide to using a side step without drifting covers the basic rule: move the stance, not just the head. The angle step here has a specific job after the hook. It gives the rear side a chance to work without asking the boxer to stand square in front of a return shot.
Add the rear uppercut only when the lane is there
Now let a coach hold a low, clear mitt after the step. Hook, move a fraction, then send the rear glove up through the middle of that short lane. Keep the elbow beneath the fist, knees soft and lead glove near the face.
The uppercut is not a long arm swing. It should rise because the rear leg and hip have room to turn, not because the hand has been thrown from somewhere near your knee. If the mitt feels far away, the drill has given you the answer: do not force the punch. Either take a better step earlier in the exchange or leave it out.
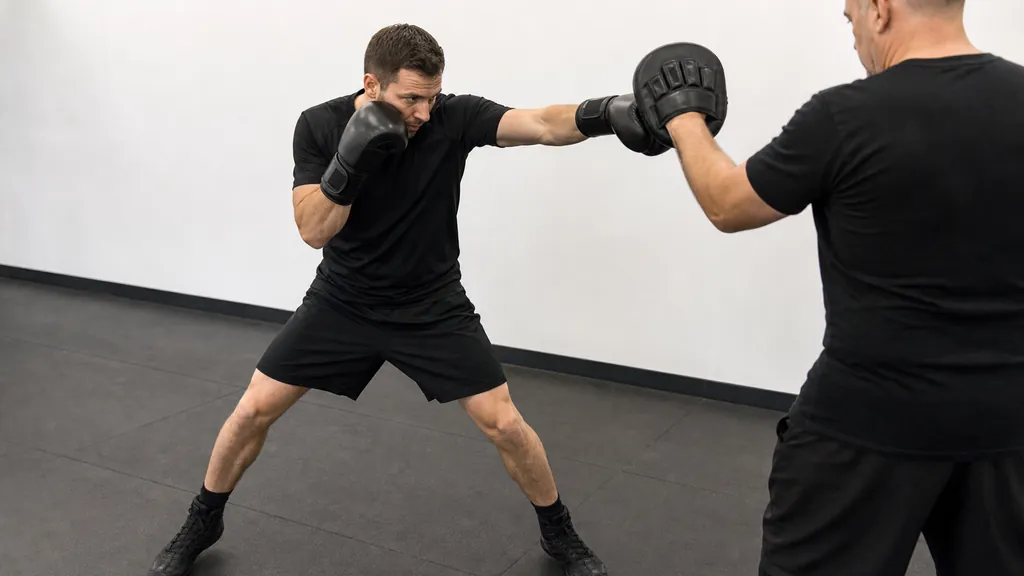
Our guide to throwing a rear uppercut in boxing explains the punch itself in more detail. This drill adds a decision before it. An uppercut is useful because the distance and angle have made it useful, not because it is the third item on a list.
Build the drill in three quiet rounds
Keep every early round slow enough that the coach can see the feet after the hook.
Round one: hook, recover, step
Work for one minute on a bag or a single mitt. Throw a compact lead hook, return it to guard, take the small diagonal step and freeze. Do not add the uppercut yet.
Check that the feet have not come together and that the chin has not travelled beyond the lead knee. If either has happened, reduce the step before you make the drill quicker.
Round two: hook, step, show the uppercut line
Use two mitts. The coach presents the hook target first, then a low mitt after the step. At first, do not strike the second mitt. Just place the rear glove beside it to show the line you would use.
This removes the temptation to chase the sound of the punch. You can see whether the line is short, whether the lead glove has come home and whether the body has remained balanced.
Round three: hook, step, uppercut, reset
Now make the rear uppercut light and controlled. Finish with both gloves near guard and either take a small exit step or reset at a safe distance.
The reset matters. A rear uppercut can be a useful close-range answer, but it is not permission to remain there with your hands low. If the second punch takes your feet out of shape, go back to the first round.
Four mistakes that spoil the pattern
The first is throwing the hook too long. If the arm straightens to reach, the angle step has to repair a mistake it did not create. Start closer, make the hook compact and let the body turn.
The second is stepping before the hook returns. That tends to pull the shoulders open and leave the lead side hanging. The hook comes home first. Then the feet move.
The third is taking too much ground. A small adjustment is enough. If the coach has to stretch the mitt towards you afterwards, you have stepped out of your own range.
The fourth is forcing the uppercut when a partner has moved or covered. Pads can make a sequence look automatic. Boxing is not automatic. If the lane has gone, cover, jab, move again or reset.
Where this belongs in training
Use this after a warm-up and before hard bag rounds. It works best for a boxer who can already throw a lead hook and rear uppercut with a settled stance. Beginners can use the first round without the uppercut and let a coach decide when the next layer makes sense.
Keep partner work technical. No surprise hooks, no hard uppercuts and no contest over who can take more ground. The value is in feeling how little movement can turn a crowded punch into a clean one.
If you are near Kidbrooke, our Recreational Adults boxing classes use pads, bags and controlled partner drills to connect footwork with simple punching decisions. The useful cue for this one is short: hook, make room, lift only when the lane is honest.
H&G Team
Writer at Honour & Glory Boxing Club, a community boxing gym in Kidbrooke, South East London.
KEEP READING
Jab to Rear Uppercut: Find Middle Range
Use a measured jab to enter middle range for a compact rear uppercut without leaning, reaching or losing your guard.
Angle Step Boxing Drill: Stay in Range
Use a compact angle step to keep your punches in range without crossing your feet or chasing a moving partner.
How to Throw an Uppercut in Boxing
Learn the short, mid and long uppercut ranges, with footwork, hip rotation and drills that stop beginners swinging from too far away.
Was this page helpful?
It takes one tap, and it genuinely helps.
Choose your next step
Turn this article into the right action
Some readers are ready to book. Some need the class route first. Pick the route that matches what you actually want.